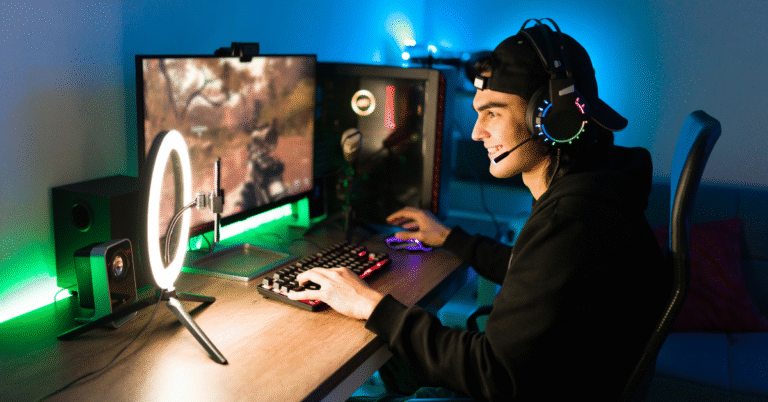
Hit an insane clutch then realize you weren’t recording? Yeah, we’ve all been there. Screen recording on PC sounds simple until your video comes out choppy, your mic is missing, or your FPS tanks the second you hit record.
The good news is you don’t need some complicated streaming setup to capture clean gameplay clips. You just need the right tool for how you actually play.

Figure Out What Kind of Recorder You Are
Here’s the thing – there are basically two types of recording most gamers want. Either you’re recording full matches and sessions because you make content or want to review your gameplay, or you’re the highlight clip person who just wants to save the last 30 seconds when something crazy happens.
Once you know which type you are, the choices get way easier. Full sessions need something reliable with quality controls you can tweak. Highlights need instant replay that barely touches your performance. Different tools, different jobs.
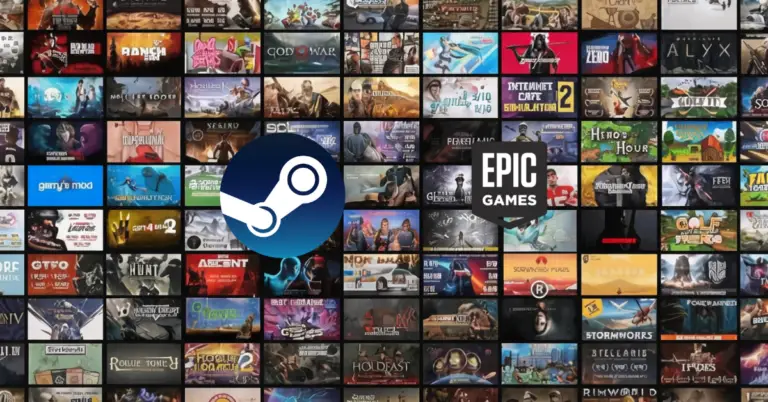
The Main Options Gamers Actually Use
OBS Studio – The Power User Choice
OBS is free, powerful, and can record or stream basically anything. The catch is you gotta set it up. Not complicated, just a bit fiddly your first time through the menus.
If you want total control over quality, separate audio tracks, and where files save, OBS is the move. Also great if you might want to stream later since it does both.
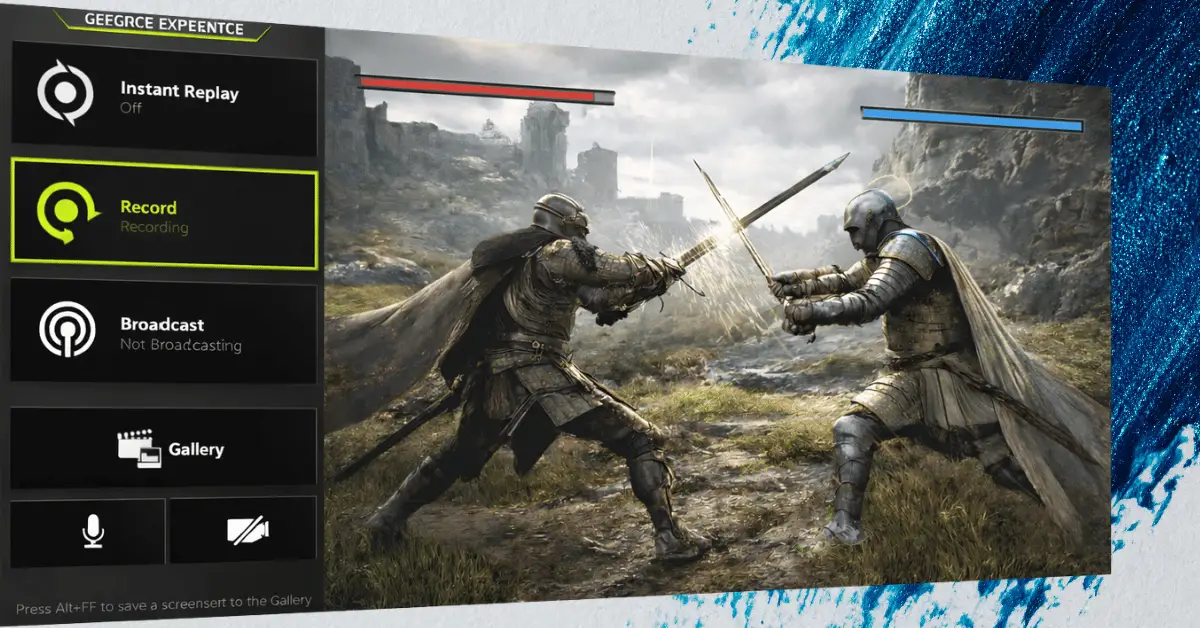
NVIDIA ShadowPlay – The Easy Button
If you have an NVIDIA GPU, ShadowPlay is built into GeForce Experience or the NVIDIA app depending on your version. It’s the “I just want it to work” option.
Great for instant replay. Light on performance because it uses your GPU’s built-in video encoder instead of hammering your CPU. If you’re a clip person, this is probably your best bet.
AMD ReLive – ShadowPlay for Team Red
Basically the same idea as ShadowPlay but for AMD GPUs. Instant replay, full recording, runs smooth because it uses the GPU to handle encoding.
Buried inside AMD software Adrenalin Edition. If you have an AMD card and want easy recording, this is it.
XBOX Game Bar – The Backup Plan
Already on Windows. Dead simple. Good enough for casual clips. Press Windows key plus G and you’re recording.
Not the best for serious editing workflows, but if you need a record button right now, it’s sitting there waiting. Underrated, honestly.
Clip Focused Apps
Medal and Outplayed are popular because they’re built around clipping highlights and organizing them automatically. Can be great, but they add another app running in the background.
Worth checking performance impact and how much storage they eat. Some people love them; some people prefer simpler tools.
What Actually Matters for Clean Recordings
Most FPS drops during recording come from wrong settings, not weak hardware. A couple of things make the biggest difference.
Use Your GPU Encoder
Modern GPUs have a built-in chip that handles video encoding: NVENC for NVIDIA, AMF for AMD. You don’t need to memorize the names, just look for hardware encoding in settings.
This means your game doesn’t take as big a performance hit. CPU encoding can work, but it murders FPS in demanding games.
Don’t Record Higher Resolution Than You Need
Play at 1080p? Record at 1080p. Play at 1440p? You can record at 1440p, but files get massive fast.
Tons of people record 1080p even when gaming at 1440p because it still looks great on YouTube and is way easier to edit and store.
Recording FPS Doesn’t Need to Match Your Monitor
60 FPS recordings look smooth. 120 FPS can be nice for slow-motion clips but doubles the file size.
If your goal is normal uploads or sharing with friends, 60 FPS is the sweet spot. Don’t chase 144 FPS recordings unless you specifically need it.
Bitrate is Just How Much Detail You’re Saving
Higher bitrate means better quality, especially in fast games with tons of motion. Also means bigger files, obviously.
If your recordings look blocky when you flick your mouse or explosions happen, bump up the bitrate. Start around 15 to 20 Mbps for 1080p60 and adjust from there.
Beginner Friendly Settings That Actually Work
If you want set-and-forget settings that work for most people without melting your PC or filling your hard drive, here’s a baseline:
- Record at 1080p resolution
- Record at 60 FPS
- Use hardware encoding from your GPU
- Save as MP4 for easy compatibility
- Keep audio tracks separate if you edit
That last one matters more than people think. Game audio on one track, your mic on another. If your mic is too loud or Discord is blasting, you can fix it in editing without destroying game audio.
Fixing Common Problems Fast
My Recording is Laggy but Game Felt Fine
Usually means your hard drive can’t keep up or settings are too demanding. Try recording to an SSD instead of a slow spinning drive. Lower bitrate a bit. Stick to 1080p60 instead of 1440p.
My FPS Drops Hard When I Record
Switch to hardware encoding if you haven’t. Close overlays and extra launchers you don’t need. If you’re already on hardware encoding, lower output resolution or cap your in-game FPS so your system has breathing room.
My Mic Sounds Weird or Too Quiet
Check input device in your recording app. Windows loves randomly switching default mics, especially if you plug anything in.
Also, make sure you’re not recording your mic twice through different sources. This causes echo or a weird robot voice effect.
My Files are Absolutely Massive
Normal if you’re recording high bitrate at 1440p or higher. Drop resolution, lower bitrate slightly, or just record highlights instead of full sessions.
You can also re-encode files after recording to shrink them, but that takes time and slight quality loss.
Making the Actual Choice
For full sessions and edited content – OBS gives you control and flexibility. Learn it once and you’re set for whatever you want to do later.
For highlight clips and quick saves – ShadowPlay for NVIDIA or ReLive for AMD. Instant replay is literally built for this exact use case.
For emergency recording right now – Xbox Game Bar works. Already installed, press a button, you’re recording. Not fancy, but gets the job done.
Quick Recommendation Based on Your Setup
- NVIDIA GPU user who wants clips – ShadowPlay instant replay. Set it to save the last 2 minutes. Press hotkey when something sick happens. Done.
- AMD GPU user who wants clips – ReLive instant replay. Same deal as ShadowPlay. Works great.
- NVIDIA or AMD user who wants full sessions – OBS Studio with hardware encoding turned on. Take 10 minutes to set it up properly once.
- Intel or old GPU – OBS with CPU encoding or Xbox Game Bar. Performance might take a bigger hit, but still totally doable.
- Just need something now – Xbox Game Bar. Windows key plus G. Click record. Seriously, that simple.
Tell me what GPU you have and whether you want full matches or highlights, and I’ll give you exact settings that match your hardware. Recording gameplay doesn’t need to be complicated; you just need the right tool doing the right job.