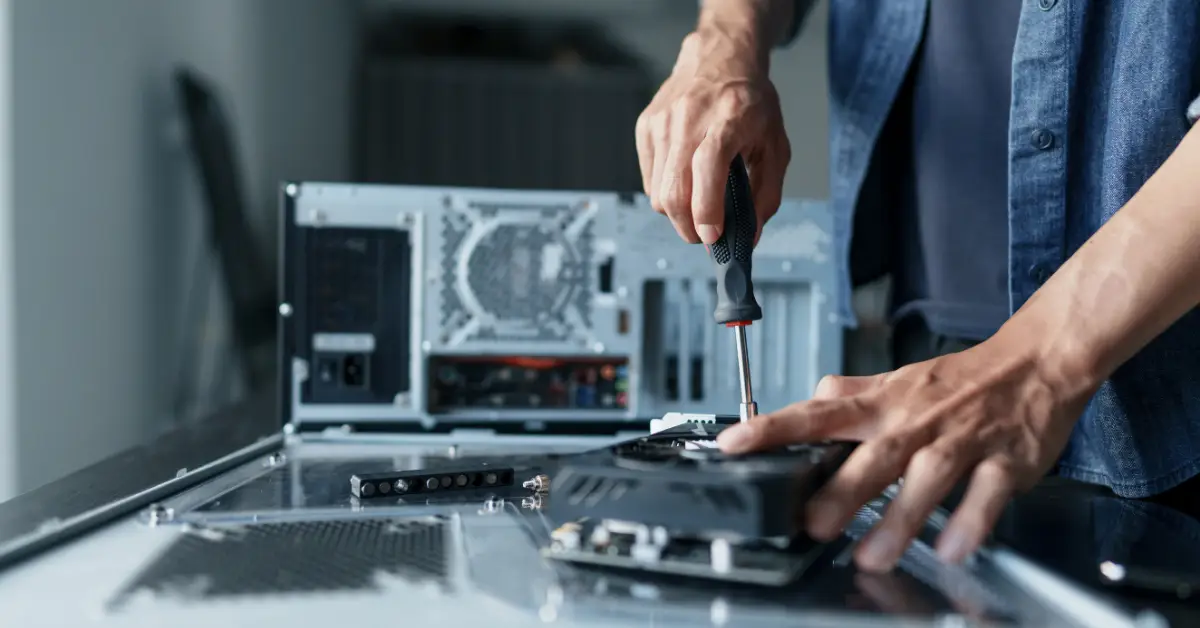
Building a gaming PC sounds scary until you realize you’re basically assembling a system where every part has one specific job. It’s not magic; it’s just making sure everything fits together and does what it’s supposed to.
The key is splitting this into two buckets: core PC parts that make the thing run and extras you still need to actually play games. People always forget the second bucket and wonder why they went over budget.

One simple rule before buying anything: start with your game goals. Want 1080p 60fps? Want 1440p 144hz? That drives your GPU choice, which drives most of your budget.
If you’re still trying to figure out your total budget, this guide on how much it costs to build a gaming PC will save you from nasty surprises later.
Core PC Parts – What You Actually Need
Motherboard
The main board everything plugs into.
What It Does
Connects all your parts together. CPU goes here. RAM slots here. GPU plugs into here. Everything routes through the motherboard.
What to Look For
Matching CPU socket is non-negotiable. Enough USB ports for your stuff. Built-in Wi-Fi if you can’t run an Ethernet cable. Modern chipset like B650 for AMD or B760 for Intel.
Common Mistake
Buying a board that doesn’t match your CPU socket or getting the absolute cheapest board with no upgrade path or features you actually need.
Compatibility Checks
CPU socket must match. RAM type matches what the board supports – DDR4 or DDR5. Enough M.2 slots for your storage. Case size matches – ATX board needs ATX case.
CPU – Your Computer’s Brain
Handles game logic, background tasks, and helps push high FPS, especially at 1080p or in CPU-heavy games.
What to Look For
A modern mid-range CPU is plenty for gaming. Intel i5 or AMD Ryzen 5 crushes most games. You don’t need an i9 or Ryzen 9 unless you stream and do heavy productivity work.
Common Mistake
Overspending on CPU while buying a weak GPU. An i7 with an RTX 3050 is backwards. Better to get an i5 with RTX 4060.
Compatibility
Must match motherboard socket. Check if motherboard BIOS supports your CPU generation. Some older boards need updates before they recognize newer CPUs.
GPU – The FPS Maker
Renders your games. Directly controls your frame rates and how high you can push visual settings. Most important part for gaming performance.
What to Look For
Performance tier that matches your monitor. 1080p 60Hz needs way less GPU than 1440p 165Hz. Match your card to your actual display.
Common Mistake
Buying too weak for your target resolution, then forever chasing settings and wondering why performance sucks.
Compatibility
Measure your case to verify GPU length fits. Check PSU has enough wattage and correct power connectors for the card.
RAM – Memory for Smooth Gaming
Keeps game data readily accessible so your PC doesn’t stutter from swapping stuff to storage constantly.
What to Look For
16GB is standard starting point. 32GB if you heavily multitask, stream, or want future-proofing. Speed matters, but capacity matters more.
Common Mistake
Mixing different RAM kits which can cause instability or buying the wrong DDR generation that doesn’t fit your motherboard.
Compatibility
DDR4 vs DDR5 must match what the motherboard supports. Physically won’t fit the wrong type. Verify speed is supported, though faster than supported just runs at max board speed.
Storage – Where Everything Lives
Stores Windows, your games, and files. SSD makes everything feel snappy with fast load times. HDD is only for extra bulk storage.
What to Look For
Minimum 500GB SSD for OS and main games. 1TB is way better since modern games are massive. NVMe M.2 is fastest and easiest to install.
Common Mistake
Buying a tiny drive that fills up immediately. Call of Duty alone is like 150GB now. Budget for real storage space.
Compatibility
Check motherboard has M.2 slots for NVMe drives. Verify how many SATA ports if using SATA SSD or HDD. Make sure case has drive bays if needed.
PSU – Powers Everything Safely
Converts wall power to stable voltages your components need. Keeps everything running without crashing or dying.
What to Look For
Reputable brand like Corsair, EVGA, Seasonic. 80 Plus Bronze rating minimum. Enough wattage for your parts plus 20 percent headroom.
Common Mistake
Cheapening out on PSU to save 30 bucks. Bad PSU causes crashes, instability, or literally kills your other parts.
Compatibility
Verify it has correct GPU power connectors your card needs. Check case supports PSU size – usually ATX standard, but some cases are weird.
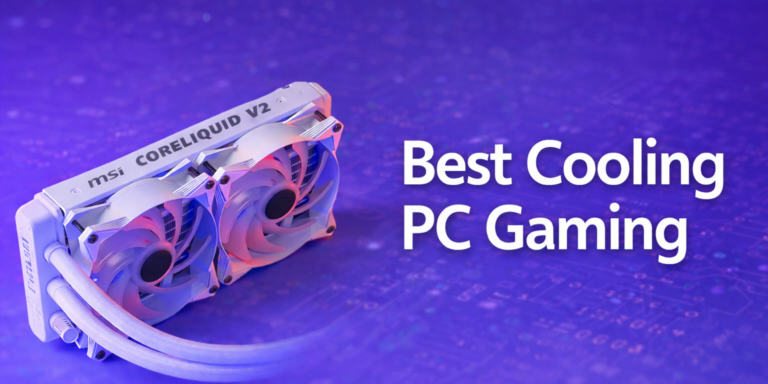
Case and Cooling – The Shell and Airflow
Houses everything and controls airflow. Good airflow keeps temps down and fans quieter.
What to Look For
Mesh front panel for airflow, not solid. Room for your GPU length. Space for fans. Cable management options make building easier.
Common Mistake
Buying a pretty case with terrible airflow. Solid front panels choke components. They run hot and fans scream trying to compensate.
Compatibility
Motherboard size must fit – ATX case for ATX board. CPU cooler height clearance if using tower cooler. GPU length fits without blocking cables or fans.
Optional but Common Additions
- Extra Case Fans: If your case only comes with one or two fans, add more for better airflow. Two intake front, one exhaust rear is standard.
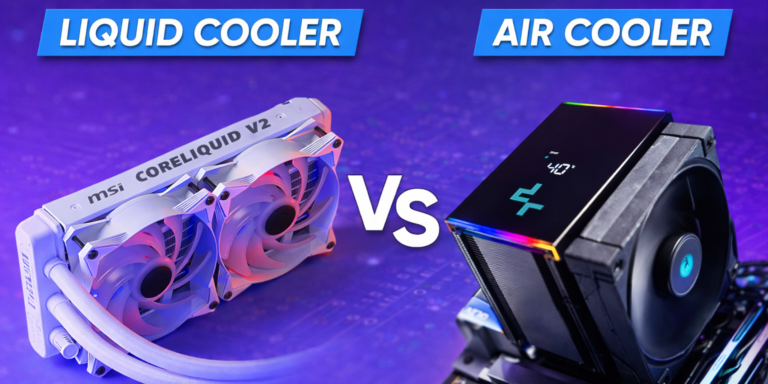
- Aftermarket CPU Cooler: If your CPU doesn’t include a stock cooler or you want quieter temps. Tower air coolers work great and cost 30 to 50 bucks.
The Hidden Extras People Always Forget
This is where budgets explode and people panic. Before you start buying parts, check the full gaming PC cost breakdown, especially these hidden costs.
- Operating System: Windows license costs 100 to 140. Linux is free, but game compatibility still has gaps. Budget for OS or have a plan.
- Monitor: If you’re upgrading to 144Hz or 1440p, budget for it separately. Display makes a huge difference in experience. Don’t build a 1440p capable PC then use a 1080p 60Hz monitor.
- Keyboard, Mouse, and Headset: These add up fast. Functional basics cost 50 total. Quality gaming peripherals run 150 to 300. Don’t blow your whole budget then realize you have no way to play.
- Cables and Adapters: DisplayPort or HDMI cable if the monitor doesn’t include one. Wi-Fi adapter if the motherboard has no Wi-Fi. Extra SATA cables sometimes.
All this stuff easily adds 200 to 400 dollars on top of your tower cost. Plan accordingly or get surprised when the checkout total is way higher than expected.
Quick Compatibility Checks Before Buying
Run through this checklist so you don’t buy parts that don’t work together:
- CPU socket matches motherboard socket exactly.
- RAM generation matches motherboard – DDR4 or DDR5.
- GPU physically fits in case – measure length against case specs.
- PSU has enough total wattage plus correct GPU power connectors.
- Storage type supported – M.2 NVMe slots or SATA ports.
- Cooling clearance – CPU cooler height and radiator space if using AIO.
Use PCPartPicker to verify compatibility automatically. It catches most incompatibility issues before you waste money. Not perfect, but catches obvious mistakes.
First Boot Basics So the Build Feels Done
- Update BIOS if needed: Only if your motherboard and CPU combo requires it. Check motherboard manufacturer’s website for compatibility list.
- Enable XMP or EXPO for RAM: Go into BIOS and turn on the setting that lets your RAM run at its rated speed instead of slow default. Huge performance boost for free.
- Install GPU Drivers: Download latest from NVIDIA or AMD website. Don’t rely on Windows auto-installing old versions.
- Basic Stability Check: Play a demanding game for an hour. Watch temps in HWInfo64 or MSI Afterburner. If nothing crashes or overheats, you’re good.
- Storage Organization: Create a games folder or separate drive for installs so everything isn’t scattered across your system drive randomly.
Wrapping It Up
Every part has a job. Motherboard connects everything. CPU handles logic. GPU renders frames. RAM keeps things smooth. Storage holds your stuff. PSU powers it all. Case keeps it cool.
Don’t forget the extras that actually let you play – monitor, peripherals, Windows, cables. These aren’t optional; they’re just separate budget items people forget.
Verify compatibility before buying. Make sure sockets match, parts physically fit, and power requirements are met. PCPartPicker catches most mistakes.
Start with your gaming goals to pick the right GPU, then build everything around supporting that. A balanced build beats an expensive CPU with a garbage GPU every time.
Now go build something that actually plays games instead of just looking at parts lists forever.