Someone asks what GPU you have and you go blank. Or you’re looking at a game’s system requirements and realize you have no idea what’s actually in your PC. Both situations are more common than people admit. Windows has three built-in tools that show you everything — GPU, CPU, RAM, drivers — without downloading a single thing. Here’s exactly how to use them.
The Fastest Way: DxDiag
DxDiag is the go-to for gaming hardware info. It’s designed specifically to show you display hardware, driver versions, monitor specs, and audio setup. If someone asks you to check your PC specs for a game, this is the tool to open first.
Press Win + R on your keyboard. A small box appears in the bottom-left corner of your screen.
Type dxdiag in the box and hit Enter. Click Yes if Windows asks about checking digital signatures it’s just verifying your drivers.
The System tab shows your OS version, CPU model, and total RAM. Write these down or screenshot them.
This is where your graphics card lives. You’ll see the exact model name, how much VRAM it has, and which driver version is installed. This is the number games care about most.
Click Save All Information at the bottom. This exports a text file with your complete system specs useful for tech support or troubleshooting later.
The Complete One: System Information (msinfo32)
System Information gives you everything DxDiag does plus a lot more motherboard info, BIOS version, installed devices, running services. It’s the most detailed built-in tool Windows has. I usually use this when I need to share my full specs with someone, or when I’m diagnosing why something isn’t working.
Same as before Win + R, type msinfo32, press Enter.
The main page shows OS version, CPU, total RAM, and BIOS date. Most of what you need is right here on the first screen.
Click the arrow next to Components in the left sidebar, then click Display. You’ll see your graphics card name, adapter RAM (VRAM), and driver version.
Go to File → Save. It saves as a .nfo file you can open in Notepad or send to anyone helping you troubleshoot.
The Quickest: Task Manager
Most players I know don’t realize Task Manager shows hardware specs. It’s faster than both tools above if you just need a quick glance at GPU and RAM no keyboard shortcuts needed, it’s already in your taskbar.
Right-click the taskbar and select Task Manager, or press Ctrl + Shift + Esc.
You’ll see live graphs for CPU, Memory, GPU, and storage. Click on each to see the model name and current usage.
The GPU panel shows the exact card name, dedicated VRAM, and current temperature. This is also a good place to check if your GPU is actually being used when a game runs.
What the Numbers Actually Mean for Gaming
Once you have your specs, here’s how to read them against game requirements. Most people know they need a “good GPU” but don’t know what separates playable from painful.
| Spec | Minimum for gaming | Sweet spot | What to look for |
|---|---|---|---|
| GPU | GTX 1060 / RX 580 | RTX 3060 / RX 6600 XT | Model name + VRAM amount |
| RAM | 8 GB | 16 GB | Total physical memory |
| CPU | 4-core at 3.0 GHz+ | 6-core modern gen | Core count + clock speed |
| Storage | HDD (works) | SSD (strongly recommended) | Drive type in Device Manager |
The One Thing That Trips Everyone Up: Integrated vs Dedicated GPU
If your DxDiag Display tab shows “Intel UHD Graphics”, “Intel Iris Xe”, or “AMD Radeon Graphics” with no model number that’s integrated graphics. It’s built into your CPU, not a real gaming card. It’ll run older games and esports titles on low settings, but don’t expect it to handle anything demanding.
A real dedicated GPU shows a proper model name like “NVIDIA GeForce RTX 3060” or “AMD Radeon RX 6600 XT” and has its own VRAM (usually 6GB, 8GB, or more). If you have a laptop, you might have both the integrated chip for light tasks and a dedicated card for gaming. DxDiag will show separate Display 1 and Display 2 tabs in that case.
Which Tool to Use When
| Situation | Best tool | Command |
|---|---|---|
| Quick GPU and RAM check | Task Manager | Ctrl + Shift + Esc |
| Checking game compatibility | DxDiag | Win + R → dxdiag |
| Sharing full specs for support | msinfo32 | Win + R → msinfo32 |
| Checking driver versions | DxDiag | Display tab → Driver version |
| Checking VRAM and GPU load live | Task Manager | Performance → GPU |
Frequently asked questions
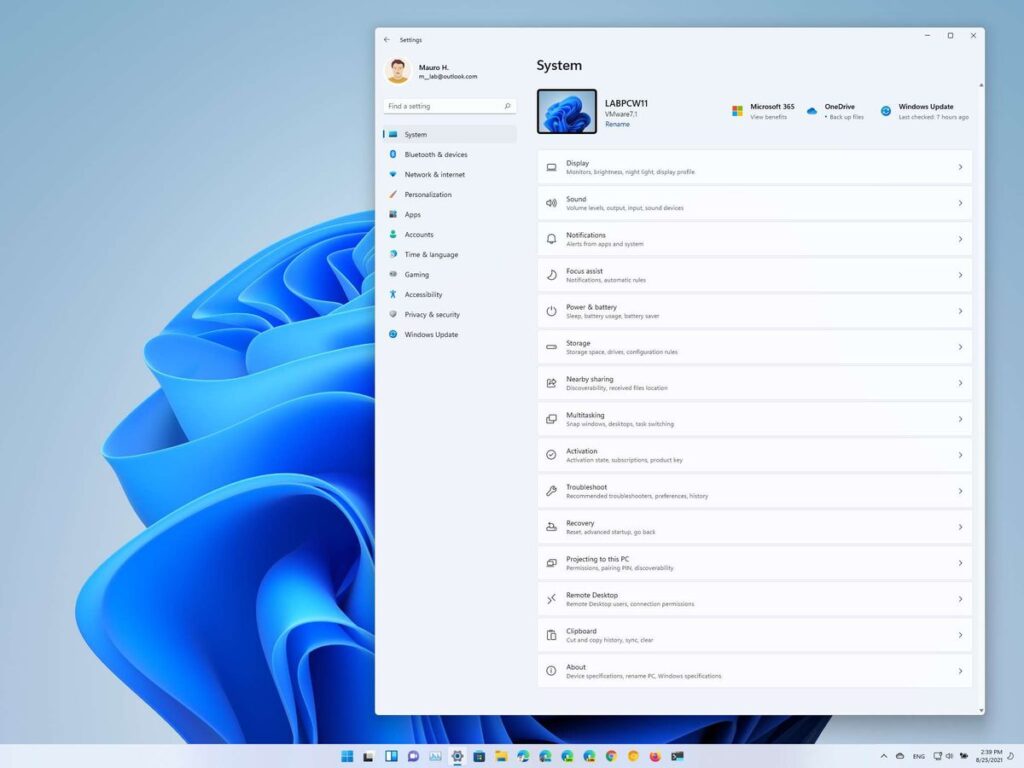
How do I check my PC specs on Windows 11?
Exactly the same way as Windows 10. Press Win + R and type dxdiag for gaming hardware, or msinfo32 for a complete system overview. Both tools work identically on Windows 10 and 11.
How do I find out what graphics card I have?
Open DxDiag (Win + R → dxdiag) and click the Display tab. Your GPU model name is listed under “Name”. Task Manager → Performance → GPU also shows it instantly. Both methods work without downloading anything.
How do I check how much RAM I have?
In DxDiag it’s on the System tab under “Memory”. In Task Manager it’s on the Performance → Memory panel — look for “Installed memory” in the top right. Note: the number shown is total physical RAM, which is what game requirements refer to.
My GPU shows very little VRAM, is something wrong?
If you’re on integrated graphics (Intel UHD, AMD Radeon Graphics built-in), the VRAM shown is shared from your main RAM, it’s not dedicated. This is normal but means you don’t have a dedicated graphics card. If you have a real GPU but see less VRAM than expected, check Device Manager to ensure the driver is installed correctly.
Do I need to download CPU-Z or GPU-Z to check specs?
Not for basic spec checking. Windows’ built-in tools cover GPU model, VRAM, CPU, RAM, and driver versions, everything you need for game compatibility checks. CPU-Z and GPU-Z are useful for more detailed info like memory timings or GPU clock speeds, but they’re optional extras, not necessities.
Five minutes with DxDiag or msinfo32 and you’ll never be caught off guard by a system requirements question again. Save that text file somewhere obvious and you’ve got a permanent record of your setup whenever you need it.